Topics Map > Self-Service Student Planning
Student Planning - Instruction Guide for Advisors
Student Planning Instruction Guide for Advisers
Step 1: Log in
-
Log in to Self Service: https://selfserv.parkland.edu/Student
-
Enter your ParklandOne username and password.
-
Click Sign in.
Step 2: Finding an Advisee
-
Select Advising.

- If you are coded as an advisor in Colleague and have students assigned to you, you will see a list of your advisees. Only 10 students load ad a time, so to see a complete list you will need to scroll down continuously. Depending on how many advisees you have, this list may require a lot of time and scrolling to fully populate. It is usually faster to type the advisee's ID number in the search field.
- To search for a student, type their ID number in the search field (the filter defaults to the "Student" search.
- To view a list of advisees assigned to a particular advisor, change the filter to the "Advisor" field and search the advisor's name or ID number.
-
Select an advisee’s and click "View Details" to view their course plan, their current schedule, and their progress toward their program.
NOTE: You can see all terms on the course plans regardless of whether they are available for registration. This permits planning forward.
Step 3: View a Summary of the Advisee’s Progress
Select the Progress tab to review an advisee's grade point average, degree, major, department, program description, in-progress and planned credits, and requirements.
From the Progress tab, select View a New Program to view the student's progress toward a different program.
NOTE: Adding a new program does NOT change the student’s major. It simply shows a what-if scenario. You would only do this if student is thinking of a changing majors or you want to see if they are close to earning a related certificate/credential. Otherwise, proceed to Step 4.
Step 4: Complete Plan Review
Approving Planned Courses
-
Click on the Course Plan tab.
-
Use the arrows to toggle to the appropriate term.
-
Review their planned sections for that term
-
Click the box next to the course sections you wish to approve.
-
Click Approve to clear the student to register.
Denying Planned Courses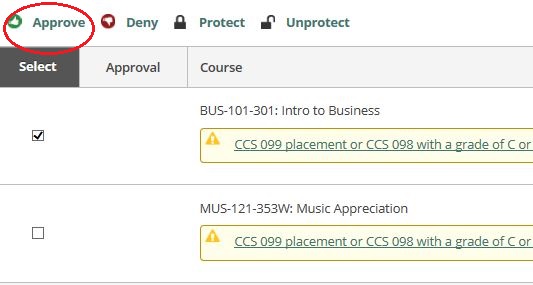
-
Click the box next to the course sections you wish to deny.
-
Click Deny.
Step 5: Compose a NOTE
-
If desired, compose a NOTE about an approval or denial on the NOTES tab and click Save NOTE. Here is where you can also view NOTE history. You can also post NOTES to a student about important topics covered in the advising appointment.
- IMPORTANT: entering a note does not email the student or the advisor. It simply records the note in Student Planning. All advising notes should be made in the Colleague STRK screen for recordkeeping purposes.
Step 6: Archive Plan Review
-
Click Review Complete once you have completed your review of the plan.

-
Select Archive in the pop-up box.

-
-
Under the Plan Archive tab, click the Download PDF link for the version of the course plan you want to view.
-
When prompted by your browser, open the PDF to see all the details of the course plan as it looked at the time it was archived.
Other Actions

Add a Course to the Plan
-
NOTE: During advising, if you and the student feel the plan needs to be modified to stay on track for the program requirements, you can add a course.
-
-
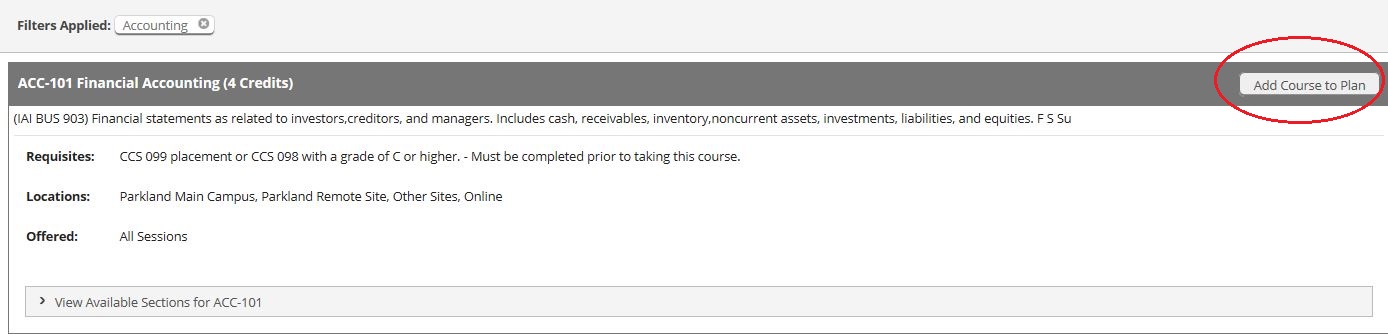
Use the Search for Courses field at the top right or go to the Course Catalog to find a course.
-
Select a course.
-
Click Add Course to Plan.
Remove a Course from the Plan
NOTE: During advising, if you and the student feel a course needs to be removed from the plan, click on the Timeline tab in the Advisee’s file.
-
If needed, click on the arrows to toggle to the appropriate term.
-
Click the X in the upper right-hand box of the course or select the term after clicking Remove Planned Courses.
-
In the pop-up box, confirm that you want to remove the course. If so, click Remove.

-
You can also remove courses by clicking Course Plan.
-
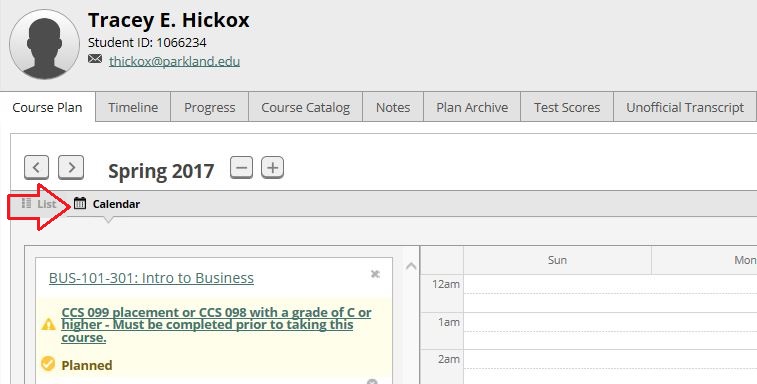
Use the arrows to toggle to the appropriate term.
-
Click on the Calendar view.
-
Click the gray X in the right hand corner of the course to remove it from the schedule.
-
Add Sections to the Advisee’s Plan
-
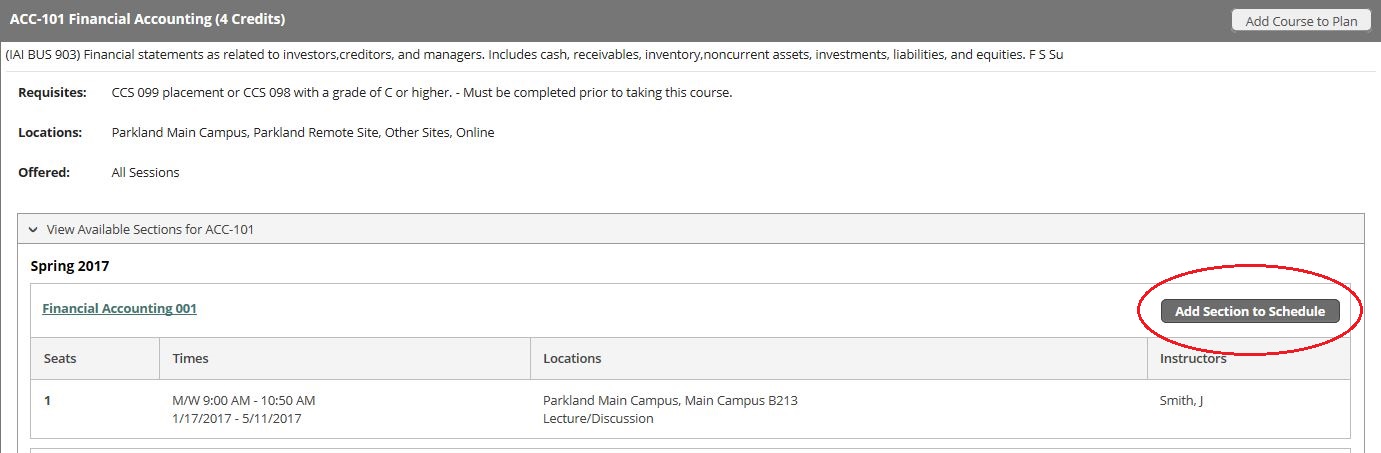
From the Course Catalog, click View Available Sections in the gray bar.
-
Select the desired section.
-
Click Add Section to Schedule.
-
Click Add Section.
Register for Courses from the Student’s Perspective
NOTE: Registration for students is only allowed during the time and date assigned by the Registrar.
-
When a student is logged in, they will click Register Now at the top-right on the Schedule tab on Plan & Schedule.
-
When registered, the box turns green.

Viewing Test Scores
-
Click on the Test Scores tab to view student’s test scores (scores are pulled from TSUM).
-